It’s Monday…let’s make something! ~ Week 43
Well it’s another cold morning here in Snohomish County! But I managed to get up into the barn for today’s project!
<———- Check out today’s video!
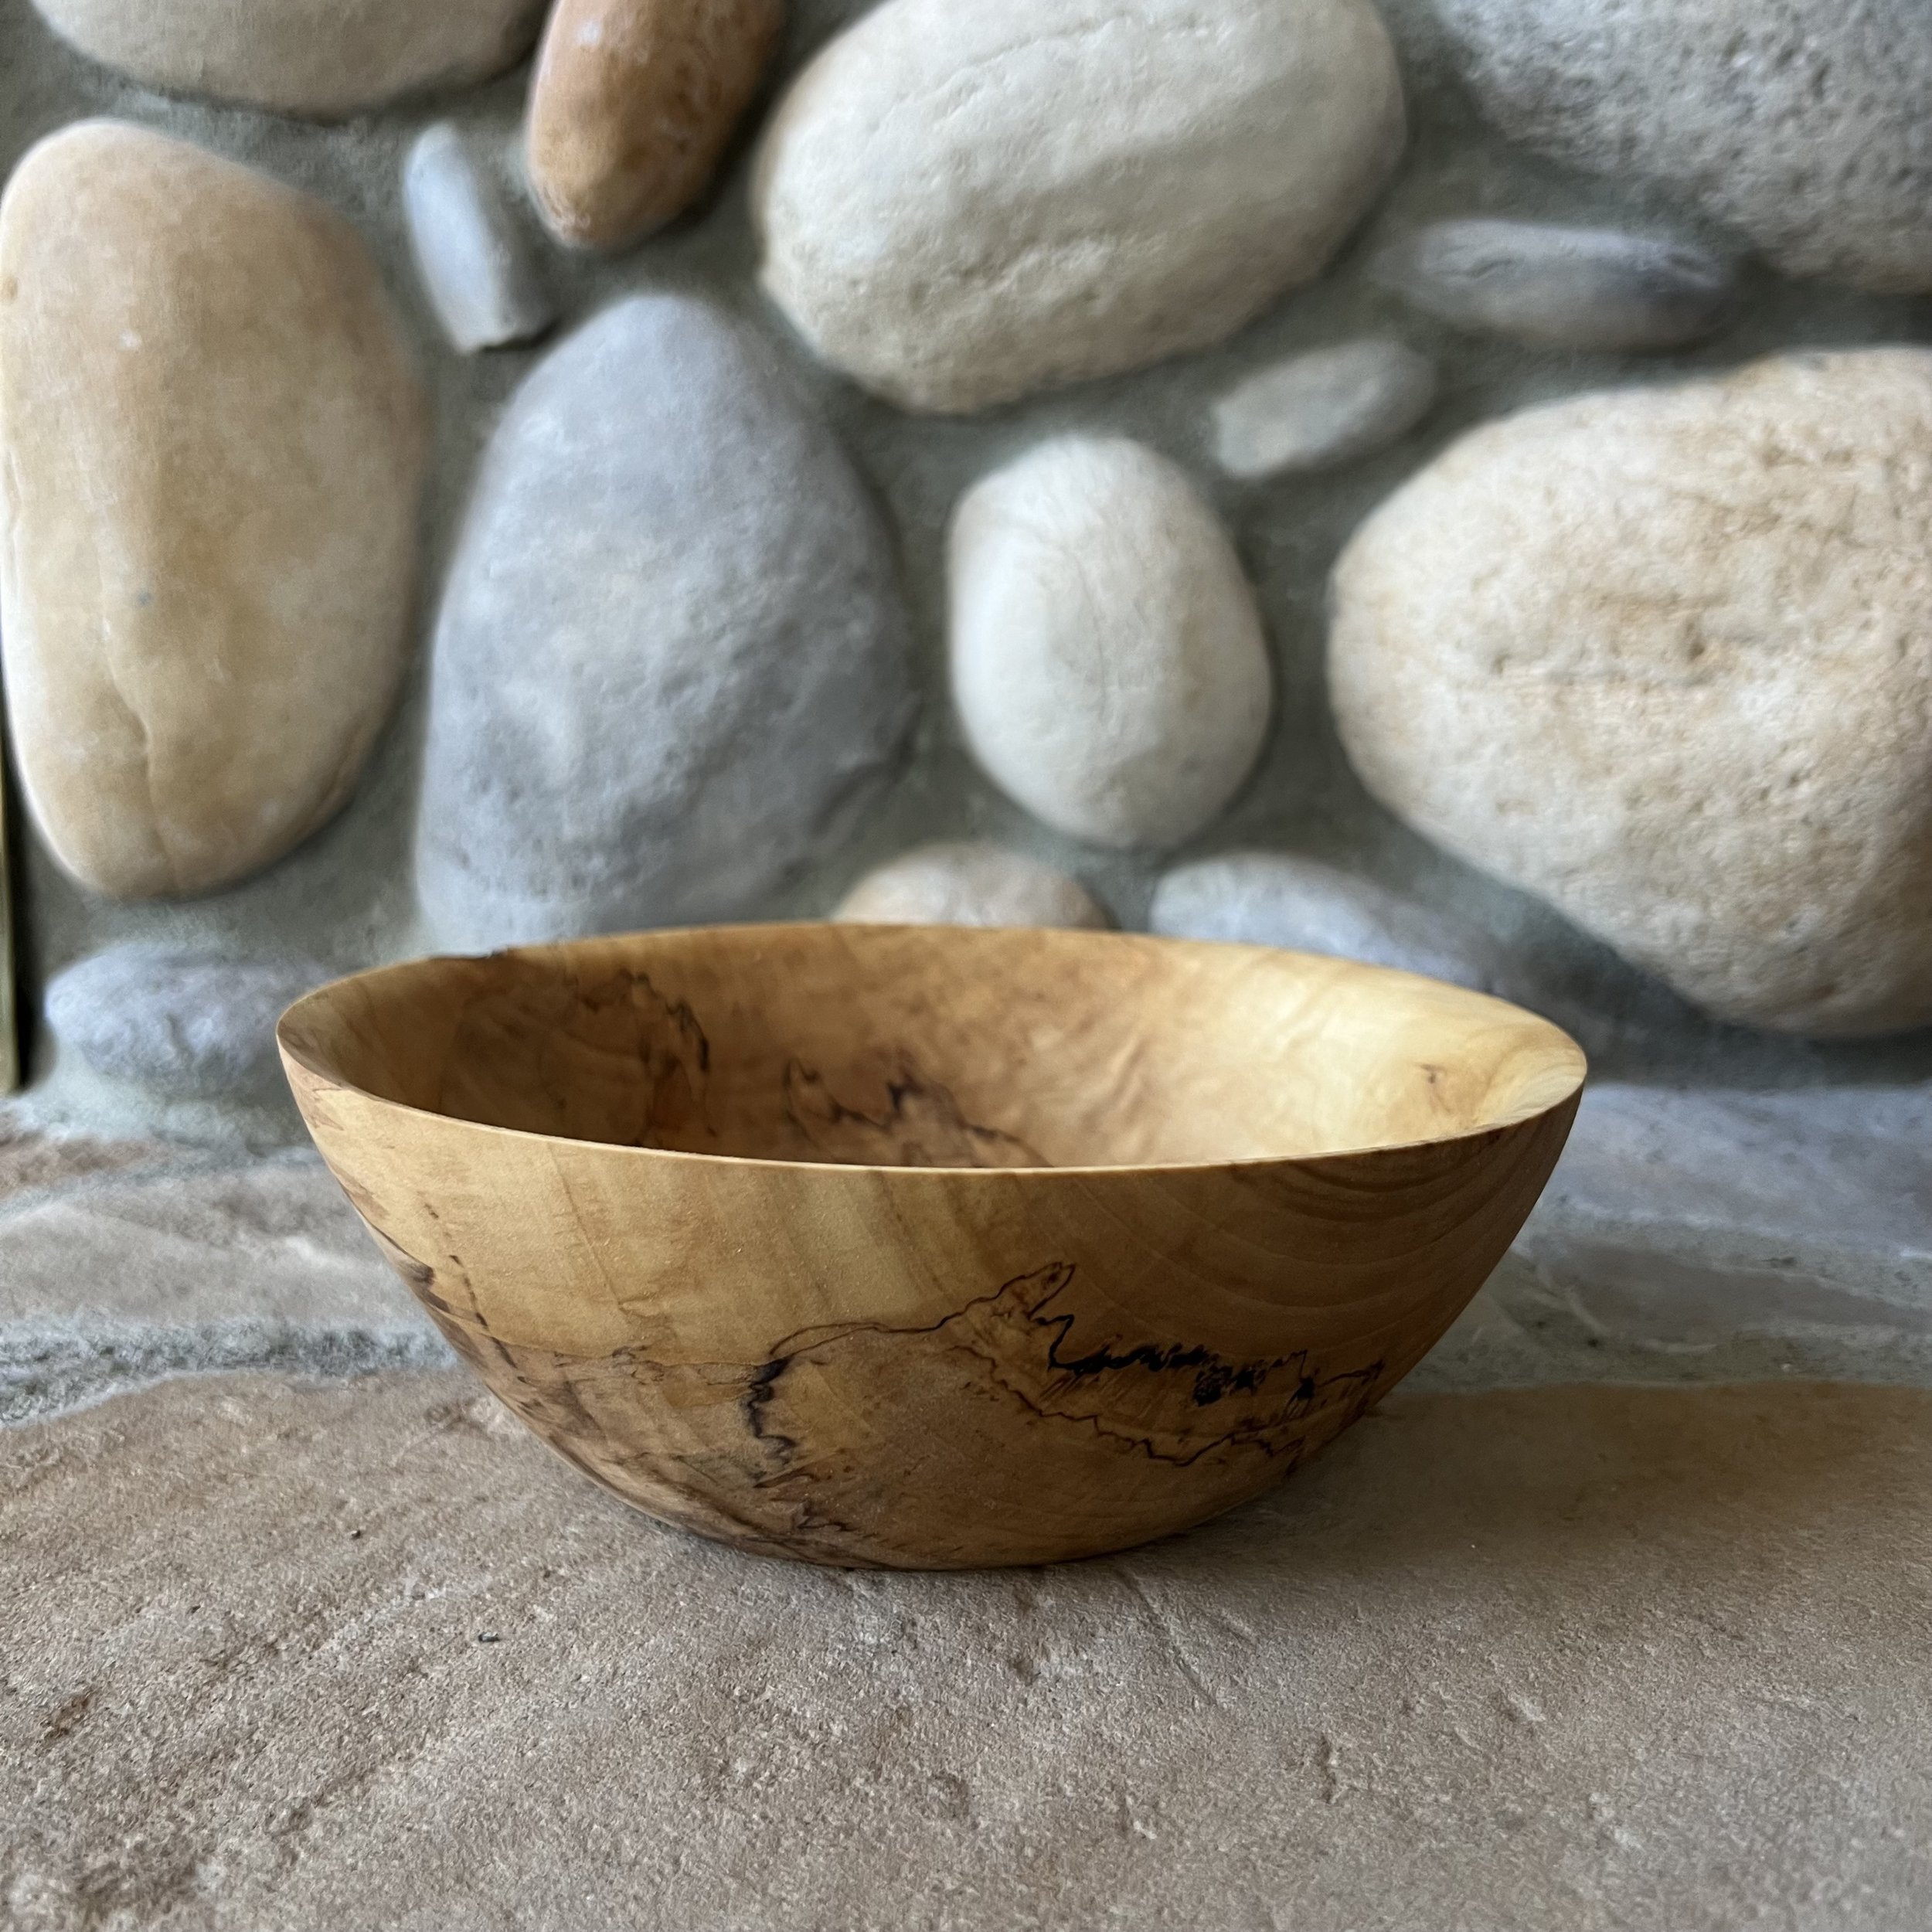
Last week I made a bowl for a customer out of a cottonwood log that I had in my stash. This is from the same logs my dad brought out several years ago from Montana, and I used one of them to make the bowl from Week 14! Check out the blog post here! I decided to use the other part of the log for this morning’s project! And I can’t even begin to tell you how happy I am with this. Over the years that this log has sat in the barn it’s developed some beautiful spalting! And it’s lost the scent that fresh cottonwood has when it’s first cut. I won’t lie…it’s a bit off putting! Hahaha So I was happy that the smell had all but vanished!
Last week I pulled the bark off the entire log, so I didn’t need to do that this morning. So I took it over to the grizzly bandsaw so I could take some of the corners off. I won’t lie…I did a bit of a hack job here! But hey…it’s not about perfection at this stage of the project! I then took it to the drill press to drill the hole for the woodworm screw. Then I mounted the log to the lathe and got to work turning outside of the bowl.
When the wood isn’t completely round, it takes a bit longer to get things going. I had to stop several times with this to make sure that I got it where it needed to go. But once I had the basic shape I then turned the foot onto the bottom. Once I had that the size it needed to be I was able to fully finish the outside of the bowl. I believe I said this last week or the week before…but I love the parts in the videos where I start at the bottom of the bowl and removed wood along the entire outside of the bowl. Crazy to watch it just shape the bowl!
Once the outside shape was done it was time to sand, oil, sand and oil some more. Then I flipped the bowl around in the chuck and set off to to turn the inside of the bowl. Again…I love to watch the video and watch how the inside just disappears with each cut! Once the inside was shaped it was time to sand, oil and sand some more. I know it’s like this with every bowl…wash/rinse/repeat. :) But that’s the nature of bowl turning!
The last step with bowls is to mount it in the cole jaws so I can remove the foot and sand/oil the baste of the bowl.
I really do enjoy turning bowls. I know most of my bowls are similar in shape, but every now and again I toss in a new shape to keep things interesting. This was is a little more angular than most. And I can’t help but love the coloring and spalting in this one! What do you all think?
See you all back up in the barn next Monday!

