It’s Monday…let’s make something! ~ Week 22
Run Free, Cooper.
Week 22…and I’m not going to lie…the last week hasn’t been the best here. On Wednesday, my amazing dog, Cooper, crossed the rainbow bridge. We were lucky enough to have been rescued by Cooper 13 1/2 years ago. He’s been with us through our entire marriage and the birth of both of our children. We do have another dog that rescued us about 3 months after Cooper did…and thankfully he’s still with us. For those of you who have been lucky enough to know the love of a pet, a dog specifically, you know the hole it leaves. Explaining this to our young children wasn’t easy…but I knew we never wanted to lie to them and tell them he went to live on some farm. But we are working through this as a family…and thankfully have our other dog to love on. Happy Trails, Cooper…may you run like you did when you first came to live with us.
~~~~~~~~~~~~~~~~~~~~~~~~~~~~~~~~~~~~~~~~~~~
Now on to this week’s project. And in the spirit of honesty, knowing what was going to be happening during the week, I made this project last week after I finished Week 21’s project. But this week’s project allowed me to use some of that wood from my SUPER expensive shopping trip at Woodcraft!
<——-Check out today’s video!
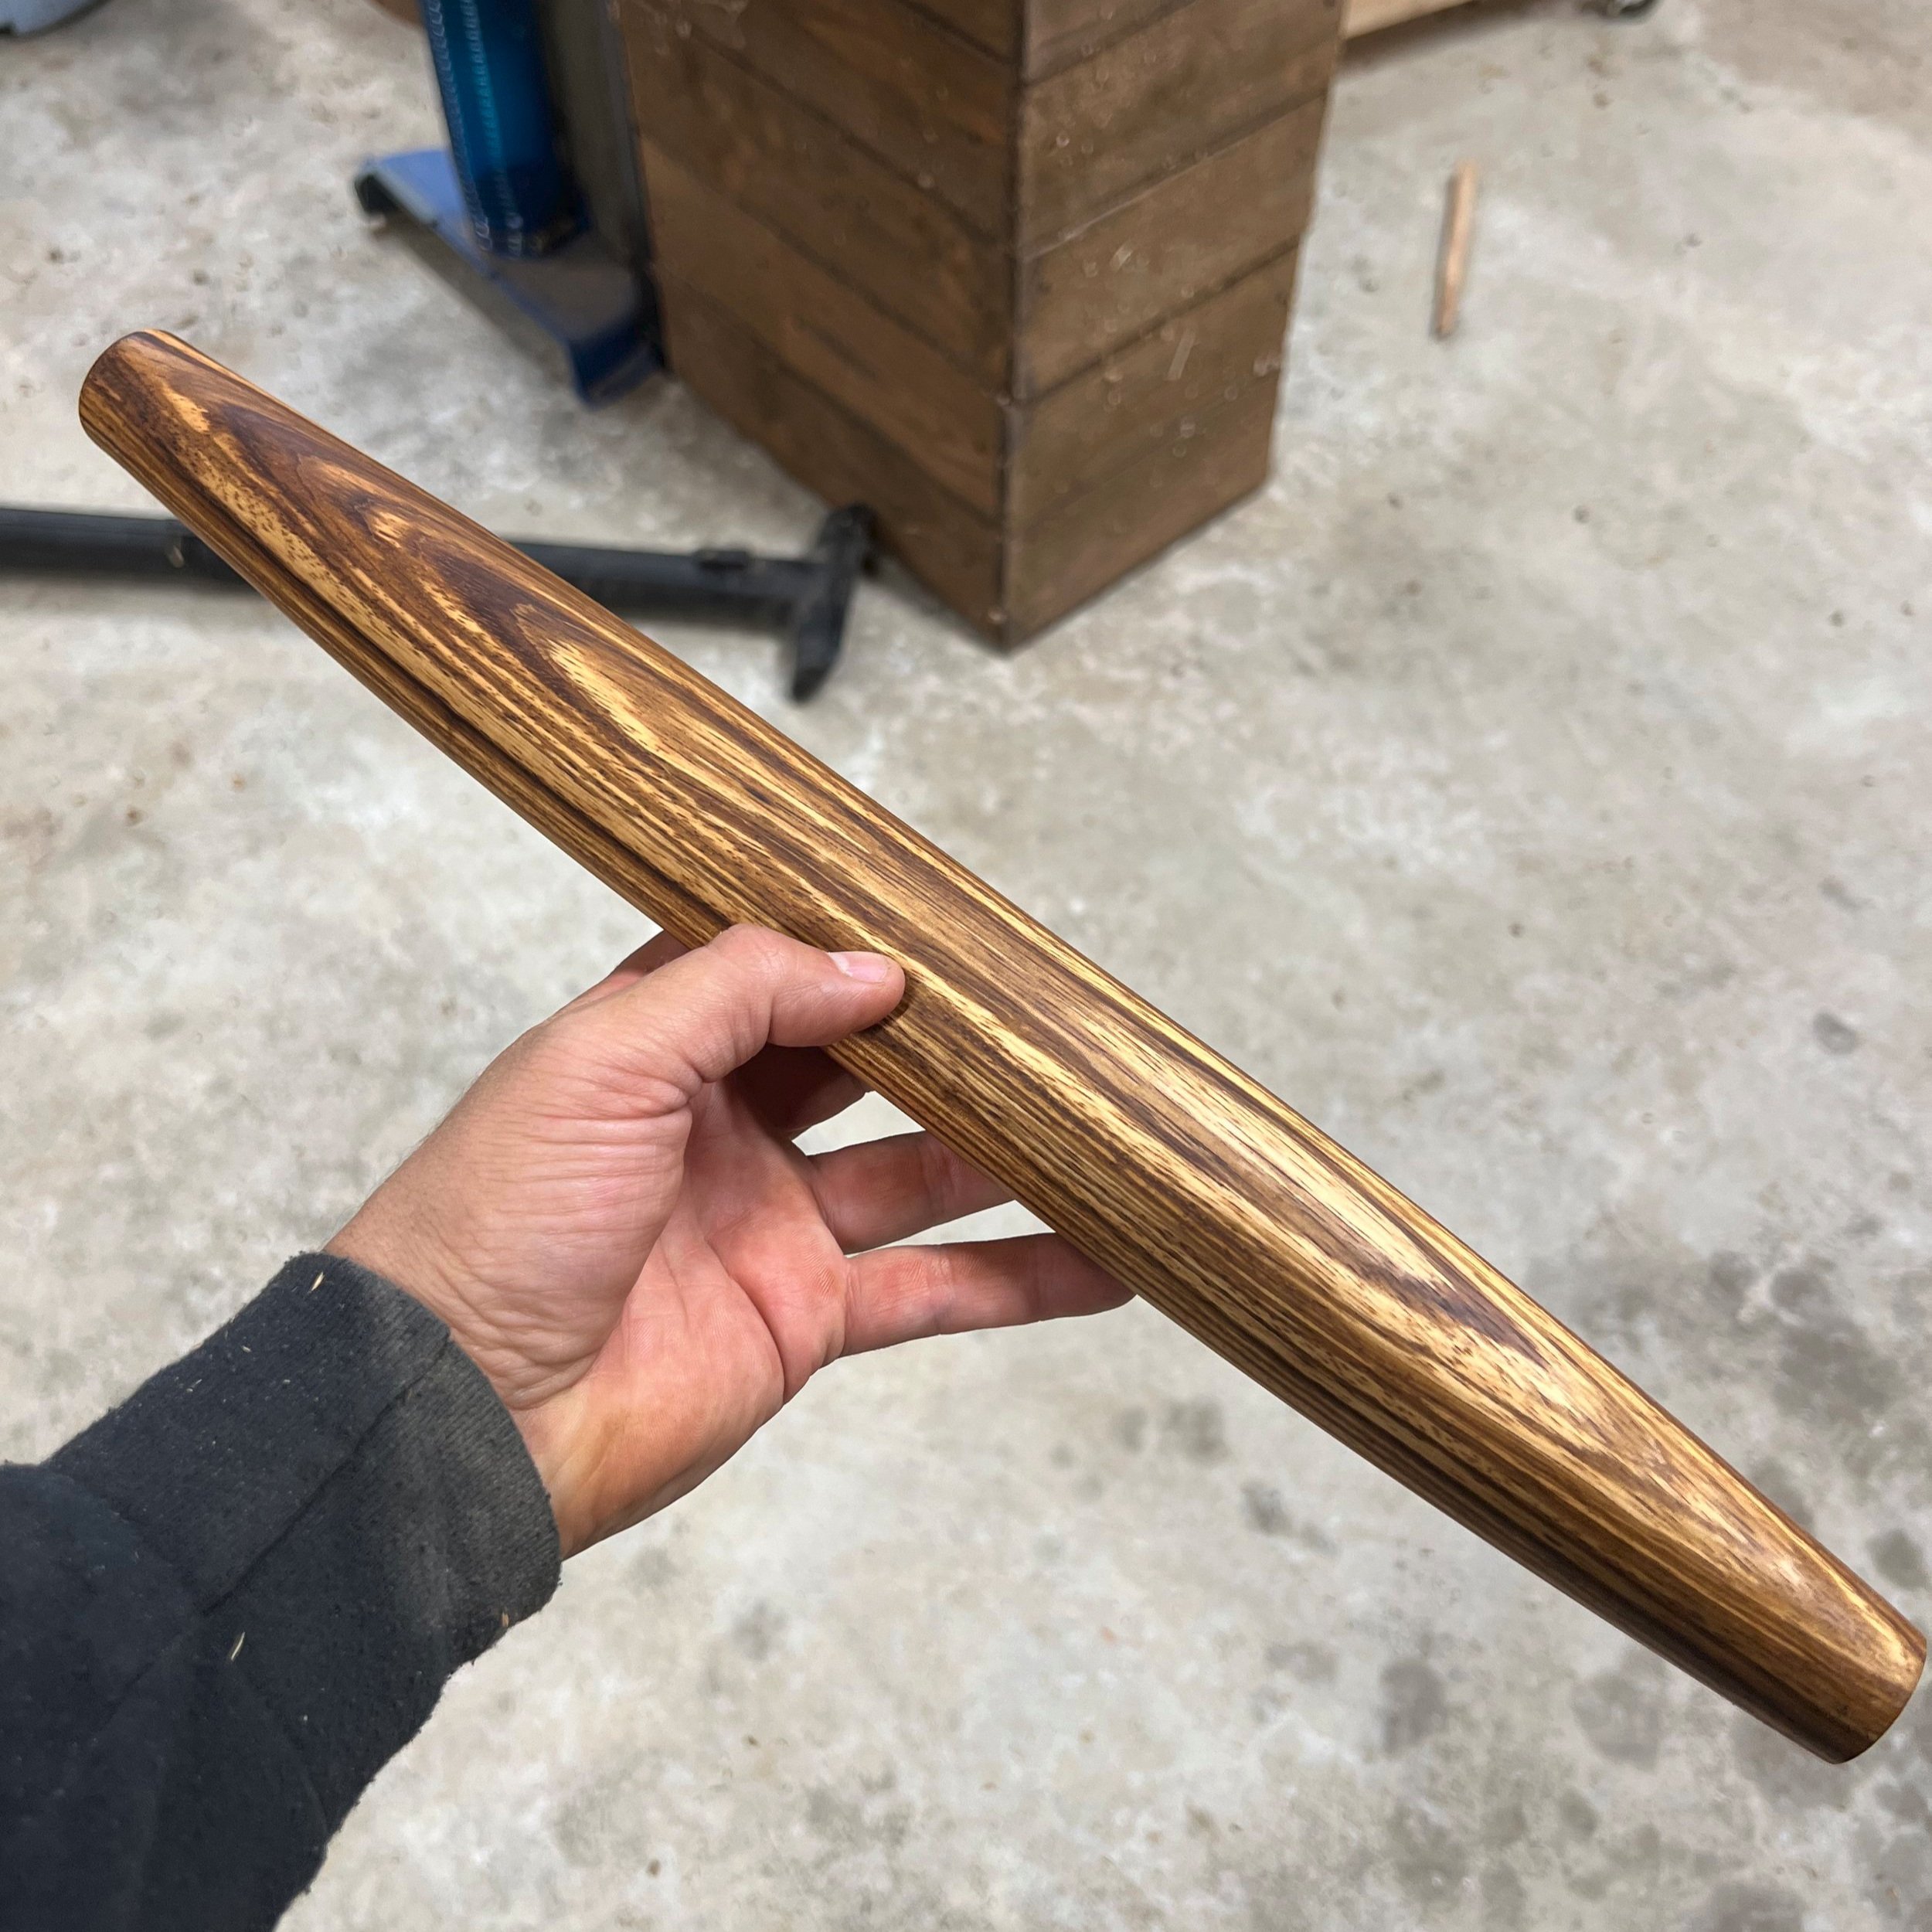
I have several pieces of wood that I picked up, but I gravitated to this piece of Zebrawood! It’s always been one of my favorite woods to work with because of how unique each piece really is!
I started off by measuring the blank to length and then cutting to size on the chop saw. Then I used my handy dandy center finder to mark the center of each end. Once that was done I was able to pop it on the lathe. French Rolling Pins were the first thing I made on the lathe when I started wood turning! I’ve gone through many iterations, but coming back to just a solid piece of wood and trying to make a beautiful pin is what truly makes me happy.
You’d think that making one of these is easy…and in some aspects it is. But making sure the taper is similar, or as close to the same, on each end can be a exercise in futility. I have a caliper that I use to help with it…but sometimes they are still a little off. BUT…that’s the fun of handmade items! Unlike the rolling pins you by in the store that are factory made by a machine…when you buy from a maker, each one is unique.
First thing you need to do is round off the blank, once that is done you can start your taper on each end. I tend to make my large pins at around 18” in length, so finding the center and trying to taper from there is usually the plan. But I tend to leave an even thickness through part of the center.
Once the taper is done on the right side, I move my tool rest over and work on the left side. And this is where my caliper comes out to make sure each end is the same. And this means I can sometimes go back and forth from each side…hahaha..again…exercise in futility.
Now on to the sanding. I start at a lower grit, usually about 120, and then work my way up to 320. Each grit I sand while it’s spinning on the lathe, then stop the lathe and hand sand with the grain. Once the sanding is done it’s time to oil it and sand through a few grits as well.
As the finishing step on the lathe I turn down a spot on each end so I can take it to the bandsaw and cut off the parts that were holding the pin onto the lathe. Once those pieces are removed I just need to sand the ends smooth and we’re done! Sounds easy…and like I said earlier, on paper it is! Ha!
I will hopefully be getting into the barn this coming week to make some more rolling pins to stock my online store, along with a few other things. Let’s see if life has anything to throw at us though!
See you in the barn next Monday!


