It’s Monday…let’s make something! ~ Week 39
Well…Christmas has come and gone!! But last month I bought myself a new tool for the workshop! I had a decent year for sales and I was able to save up to make this purchase! I’m so excited for you all to see what’s to come!
Check out today’s video ——->
I’ve been wanting a laser engraver for quite a while now…I have a friend who has several of them, and he’s been bugging me to go over and try them out. But instead of doing that, I saved up everything so I could just get one! So far…the Xtool S1 40 W laser is amazing. I’ve done a few things with it, but I’m excited to really put it to work!! So…on to today’s project!
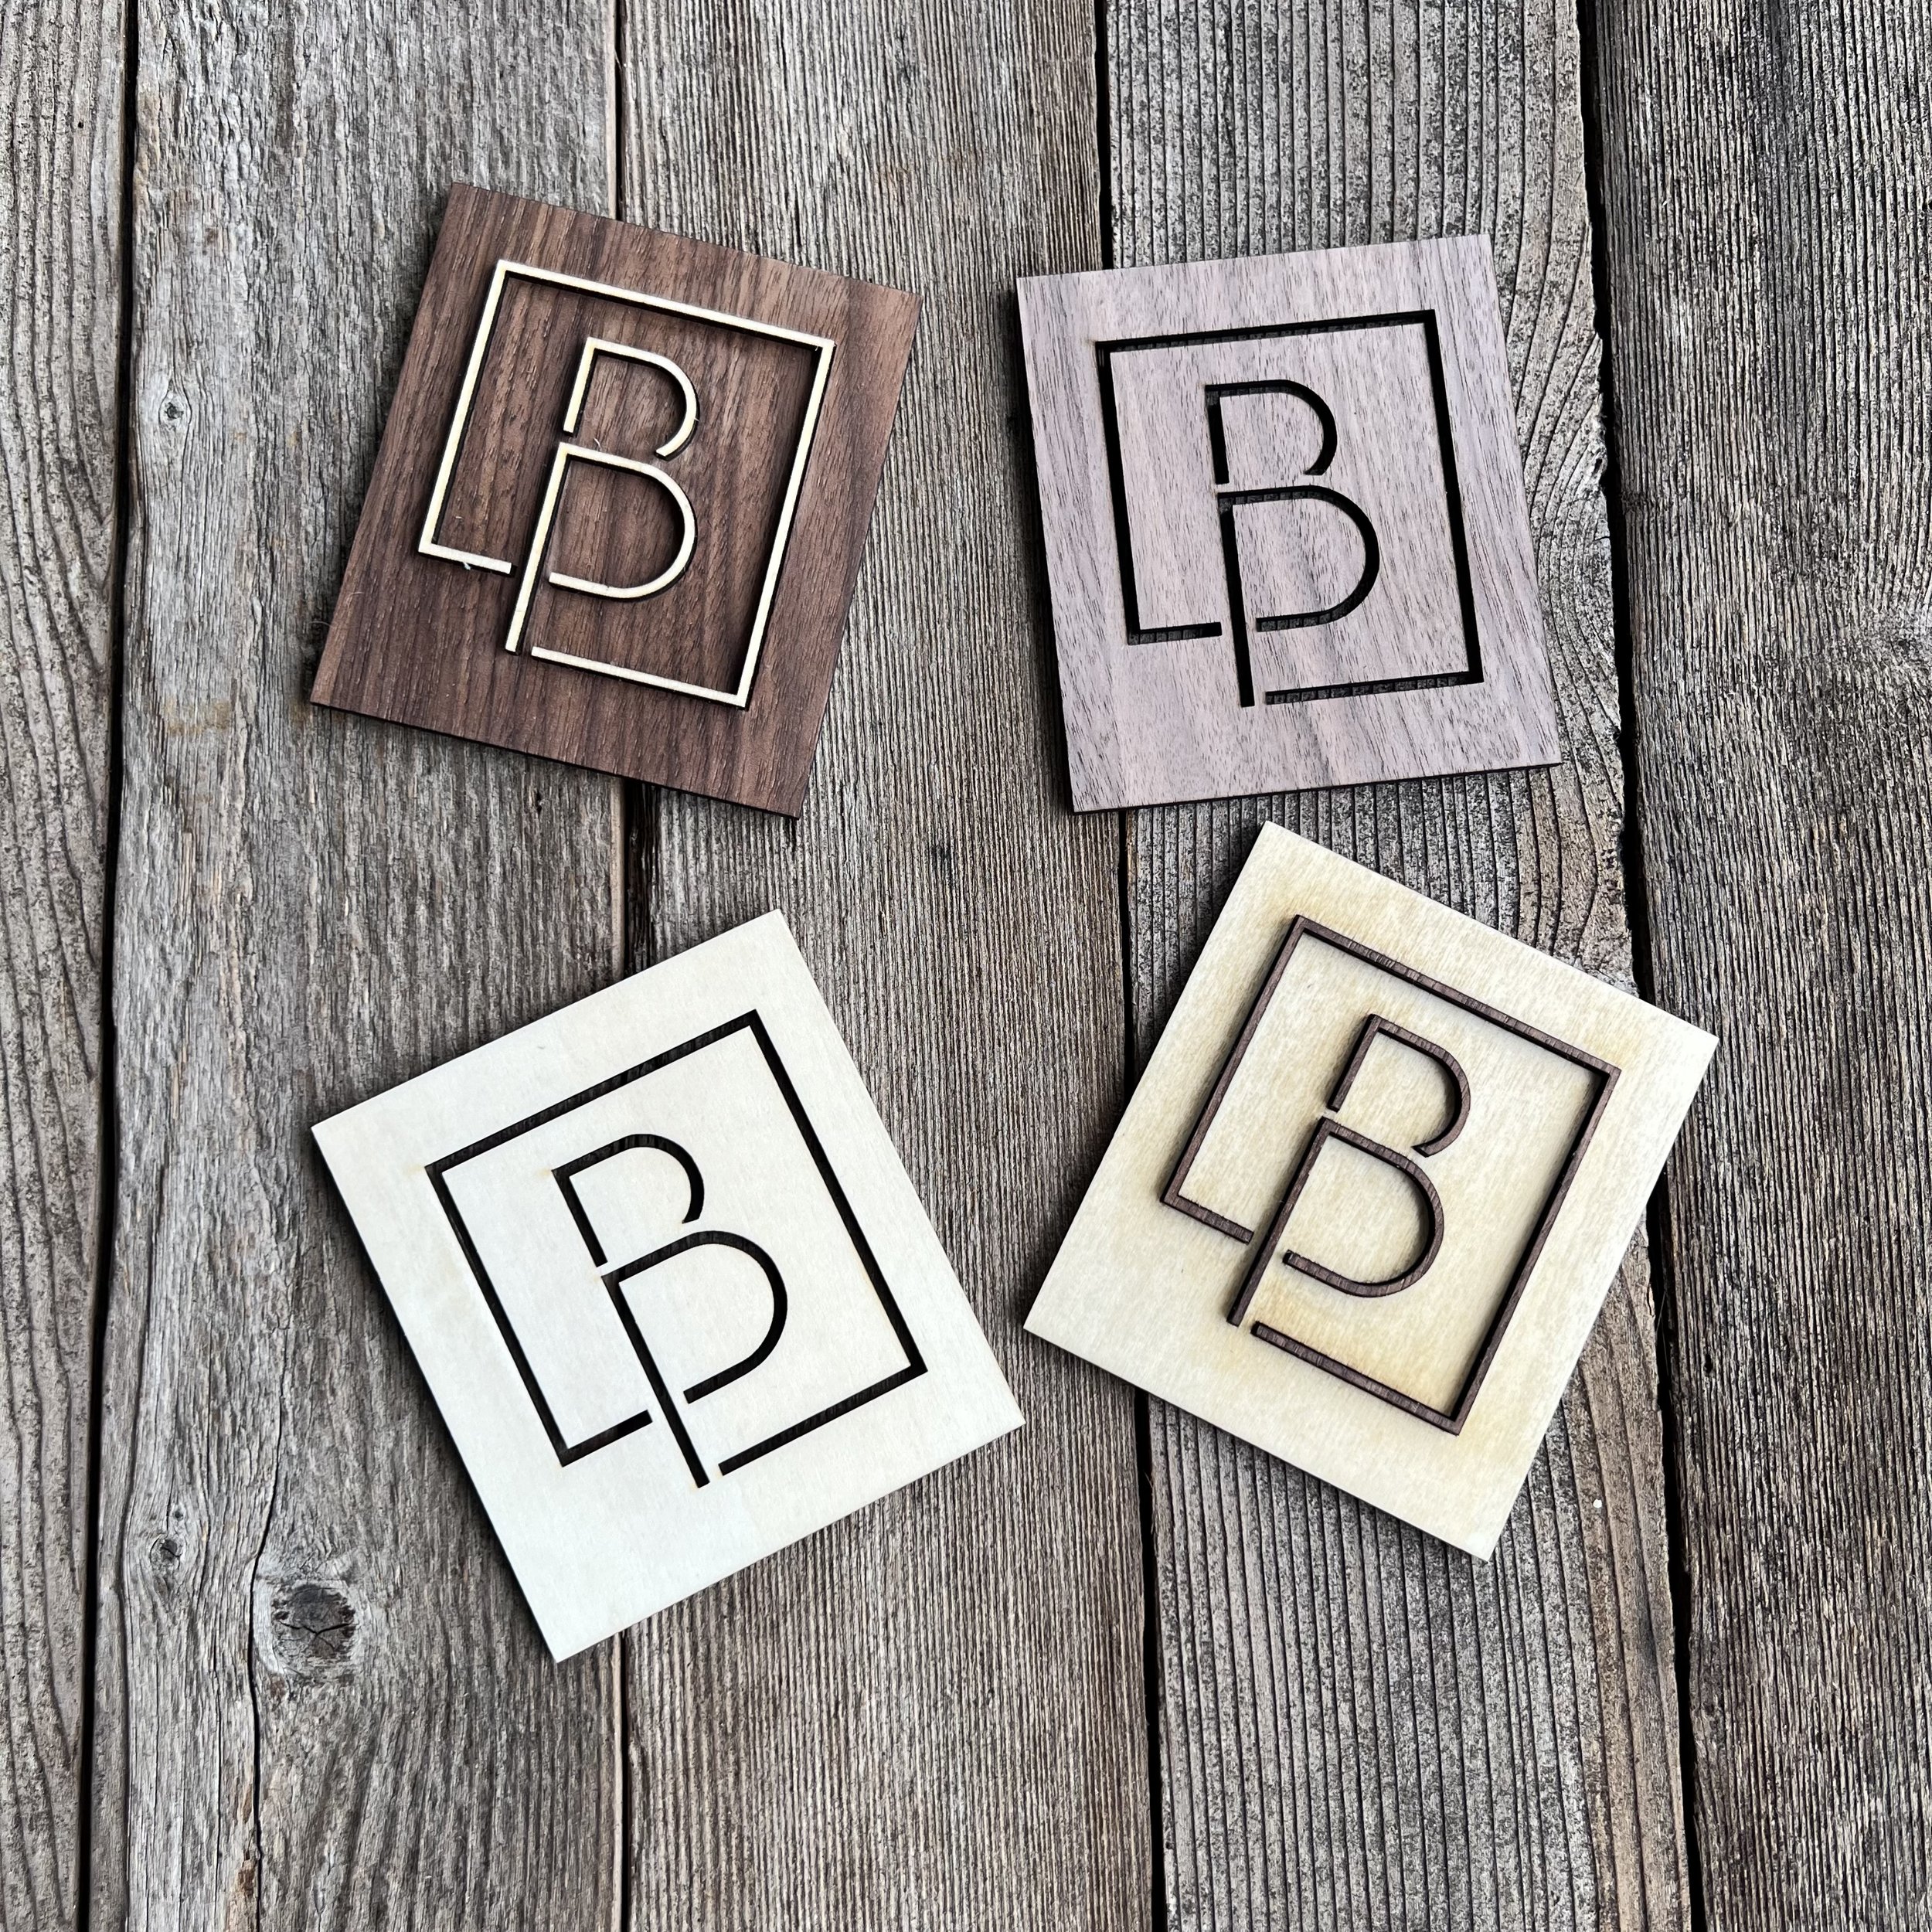
I wanted to do my logo as an inlay on some wood. I ordered some 3mm Basswood and Walnut plywood and set out to work. I won’t lie, I did do practice runs of this last night just to make sure I was able to achieve what I was wanting. And I’m happy that I did! I wouldn’t be able to upload a 3 hour Instagram Reel!
I opened up the XCS software, imported my logo, removed the white background and then worked on the two things I wanted the laser to do. I needed to do a “deep engrave” on one piece (making sure it wasn’t too deep and cut all the way through), but also deep enough that I could actually glue the pieces in. Then I needed it to cut out the actual logo so I could inlay that wood into the other piece. Sounds easy enough…well…there’s all sorts of things I had no clue needed to be done! But I muddled through it last night, and was able to get it all done rather quickly this morning for the video!
Once I had the logo split into two (one to engrave and the other to cut out) I put a piece of basswood into the laser, did a distance measure so the laser knew where the wood was in the tray, and then marked out the cutting area. This lets software know where the cutting area will be and you can then resize your items to fit withing those parameters. Once that was done, I “framed” it, that’s where the crosshairs of the laser actually frame out where they’ll be doing the work so you know if it’s going to actually fit on the wood or not. Then it was time to “process”…and this gives you the amount of time it’ll take to do the work along with a video of how the laser will do the work. Once you are satisfied that everything looks good…you hit the start button on the machine and let it do it’s thing.
It’s honestly amazing watching it work!! I did the work on the basswood first, then the walnut. All together it took about 20 minutes for the laser to do the work! Not bad!
After all the pieces were either engraved or cut out, I sanded away some of the burn marks (I think there’s a way to use masking tape to help prevent this…) and then used some CA glue to glue the basswood inlay into the walnut plywood and walnut inlay into the basswood plywood! Then…just like with everything else, oiled them up!
I’m incredibly excited to add this tool to my workshop (it’ll stay in the garage since the barn isn’t heated…plus this allows me to use it when the kids are home or they are sleeping at night). And I can’t wait to see what else I can do with it!
What do you all think? Have an amazing New Years! And I’ll see you back up in the barn next Monday!!

