It’s Monday…let’s make something! ~ Week 32
Happy Veterans Day to all the veterans. Thank you for your service to this country.
It’s Week 32 of “It’s Monday…let’s make something!” And the last week was a bit of a struggle around here. My oldest was down with a cold, these things hit him hard because of his asthma. So he was home most of the week which really hampered my efforts to get ready for the Harvested Market that I’m selling at on the 16th. But I managed to sneak up there and get some things done when I could! And I have to bust butt this week! No rest for the wicked, eh?
Now…let’s get to today’s project! Check out the video here ——>
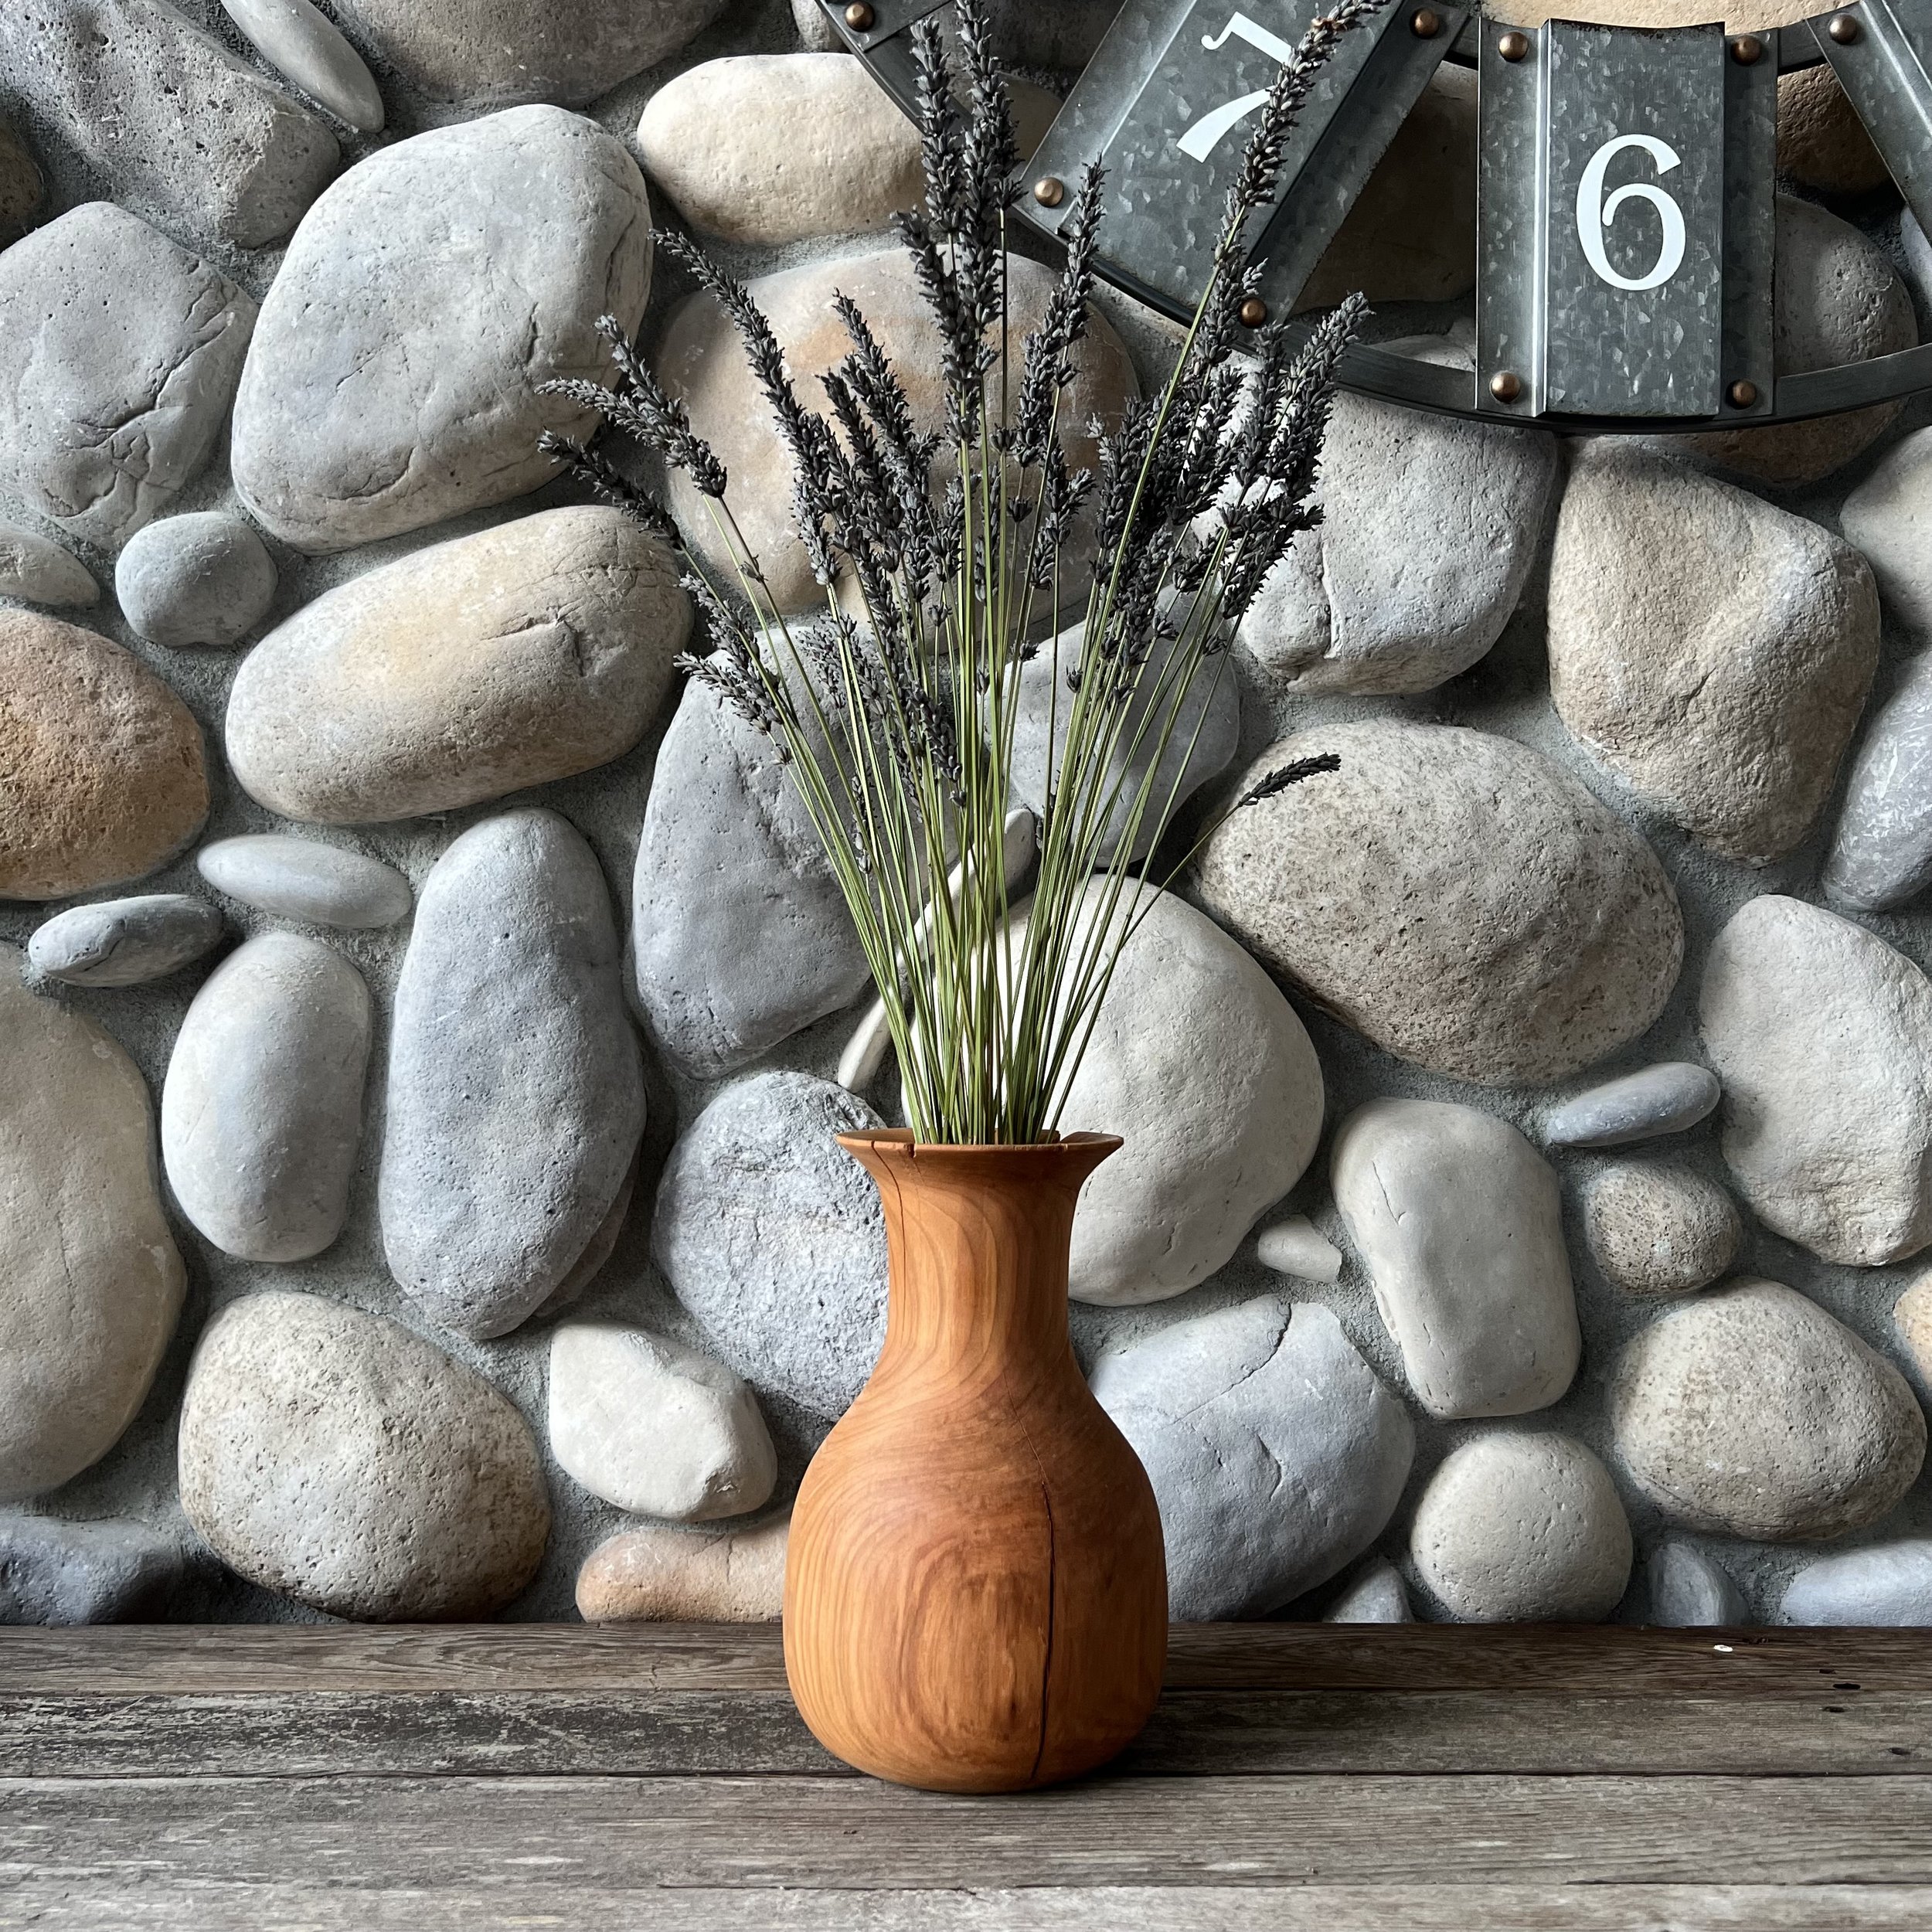
I have an abundance of cherry logs in the barn right now, and they are all from the neighbor’s property. I feel so fortunate when people contact me to see if I want any of the wood they have. Can never have too much, right? This log has been calling to me for a while now, and today I grabbed it to make another large, chunky vase. I started by cutting the log to size on the Grizzly bandsaw. Then I drilled a hole for the woodworm screw. Then onto the lathe. This piece had a lot of cracks in it, and I was trying to be mindful of that while turning. If that crack goes all the way through the wood, too much pressure could cause the piece to break in half and fly off the lathe. And at a minimum…I’d need a change of underwear. So making sure to stop and check things periodically is a must when working with wood like this.
I knew I wanted this to be a larger vase, so I started by rounding out the log. Once I had that done, I flattened what would be the bottom of the vase so I could turn the foot. Then it was on to getting the shape of the vase where I wanted it. Again…making sure to not put too much pressure on it, and that my cutting tools were sharp. Then it was time to sand and oil. I also used the air compressor to blow out the large cracks in the piece, since those were part of the charm of this piece I didn’t want them to be filled in.
Then it was time to turn the vase around, shape the top and then do the part that always makes my stomach turn a little. Coring out the center of the vase. with these dried bud vases I just use a forstner bit for the larger ones, and a regular drill bit for the smaller ones. They aren’t meant to hold water, so I don’t need much space in them…so no need to hollow out the entire vase. If you’ve ever seen videos of someone hollow coring out wooden pieces…ooof. Man I don’t know if I have the nerves for that!
I take it slow when I’m drilling out the center of the vase, especially if the foot has some of the cracks running through it. I’d never want that to break free and all hell to break loose! Once it’s drilled out, I use the air compressor to clean all the shavings out. And then it’s time to do the final shaping of the inside of the top of the vase. Then it’s sanding and oiling.
With a bigger vase like this, turning off the foot is easier. I’m able to use a bowl blank to pressure mount the vase to the lathe. Then I can turn off 97% of that foot, remove it from the lathe and use other tools to finish the job. Then I sand the bottom…and oil the entire piece.
I’ve really enjoyed making these vases. And I keep them for a while in my house to make sure they dry completely and the cracks don’t get bigger and destroy the vase! I can’t imagine what would happen if I sent this to someone and that happened. So until it dries…it will sit on my dining room table holding some dried lavender. In the words of Ina Garten, “How bad could that be?”
Have a wonderful week, and if you live in the Snohomish area…please come to the Harvested Market on the 16th! You can send me a message for more details! See you all back up in the barn next Monday!