It’s Monday…let’s make something! ~ Week 51
Folks…we are ONE WEEK AWAY from an entire year of Make Something Monday! Last week I scrolled back through all of Make Something Monday blog posts from the past 50 weeks…and it was so great to see everything! I started this series to push myself into getting into the barn and creating something every week…no excuses. I didn’t know if I’d stick it out, but it gave me a reason to go up to the barn, even on the coldest of Mondays! So let’s get ready for today’s project!
Watch today’s video! ——->
Last week I pulled a log out of the wood pile, and it was a nice piece of spalted maple! I had several pieces of the log left, so today I grabbed one of them to make today’s project! I started by finding the centers on each end, pounding a hole in each end then popped the wood onto the lathe. I started by rounding out the blank and then turned a foot on what would be the bottom of the bud vase.
Then it was time to get to shaping the vase. This piece was a bit wobbly on the lathe, so I knew that the top was going to turn out a little funky…and I won’t lie, I was excited to see how it ended up. Once I had the shape of the vase I started to shape the top of the bud vase, not cutting all the way through so I could still sand the outside of the piece. And then it was time to sand, sand, sand and oil. Seeing this piece come to life with oiling was fun…I knew it would be after working with the other part of the log last week.
Once I sanded and oiled the vase I buffed it with some of its own wood shavings then gave it another oiling. I flipped the vase over in the chuck and proceeded to cut off the wood that was above the top. I won’t lie, this got a little dicey. And the vase may or may not have popped out of the chuck. I can neither confirm, nor deny that. Anyways…once that was done I was able to turn out the inside of the lip of the vase.
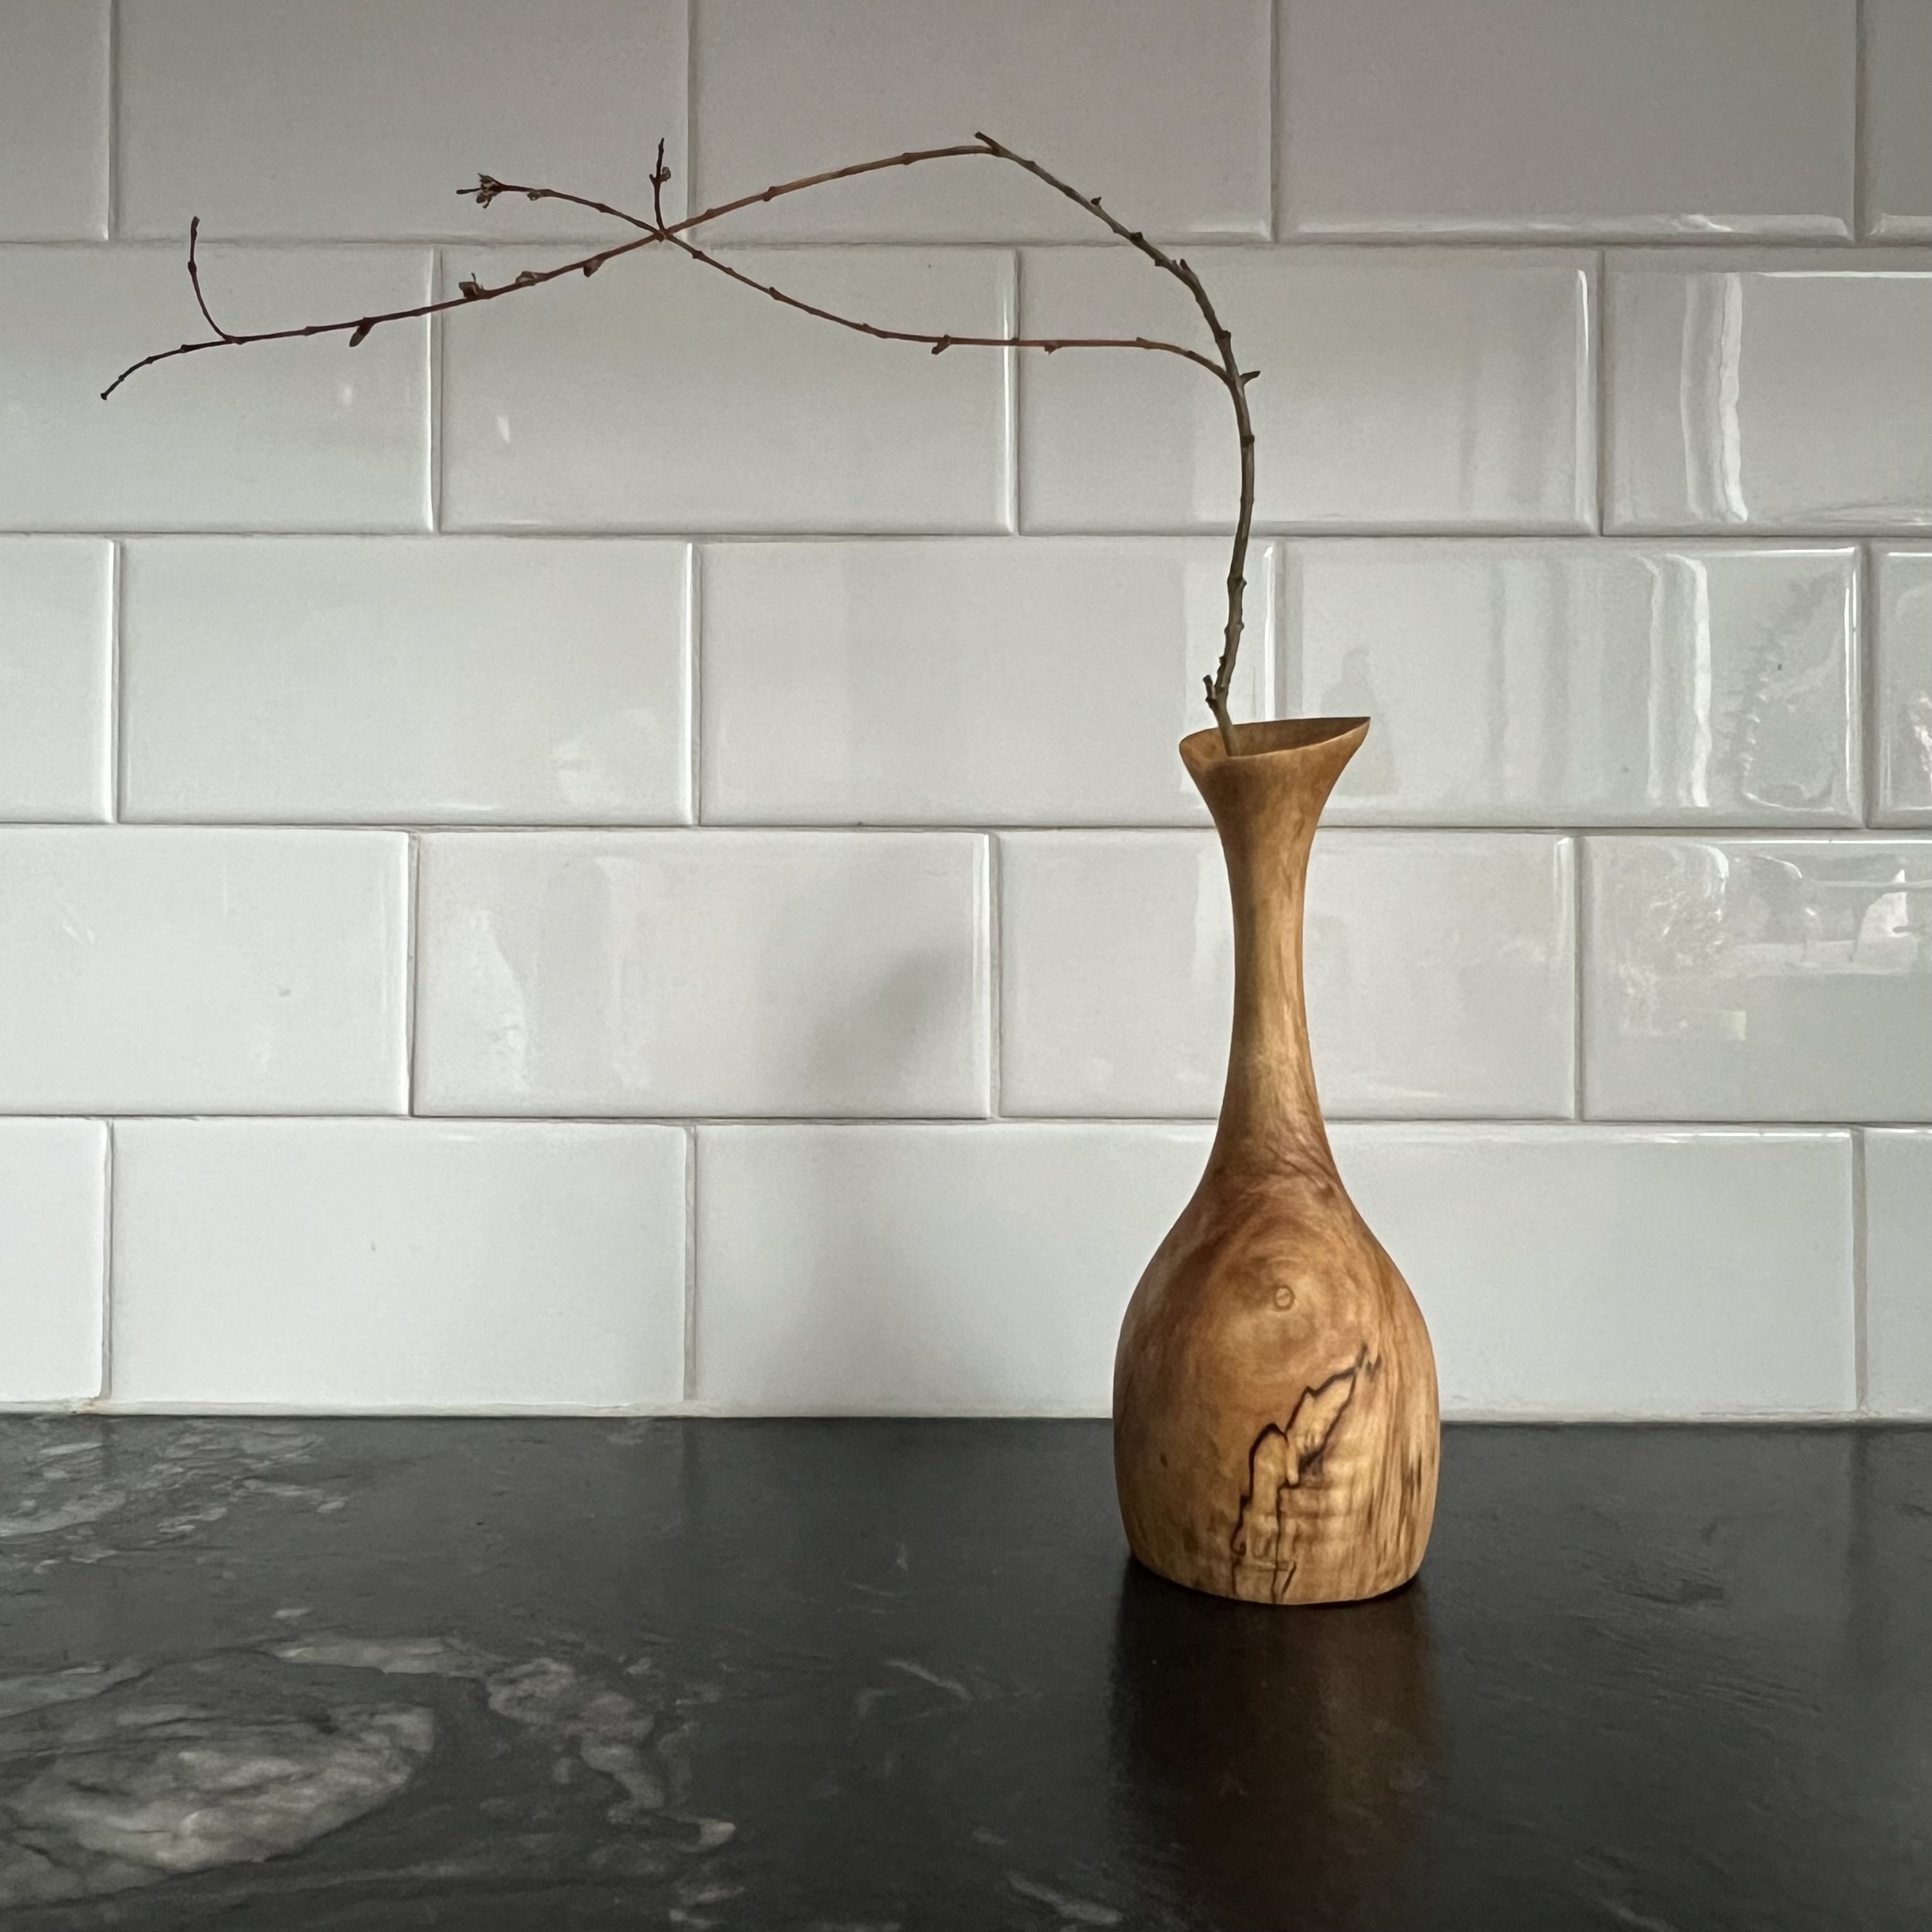
Knowing this was a little lop sided, I wasn’t going to be able to use as big of a drill bit for the core as I would have normally. I picked out a smaller one and drilled out the core. Then I finished turning the inside lip of the vase. When it came time to sand, I spent more time than I would on a normal vase. The wood had chipped quite a bit around the rim of the vase, so I spent some time sanding that smooth. I’m so happy with how this vase turned out! because it was a bit wobbly, the lip of the vase is higher on one end giving it a pretty cool look!
Once it was sanded, I oiled it and then got to work on taking the foot off the vase. I cut most off with the Grizzly bandsaw and then moved to the sander to flatten the bottom. And then it was time to oil the bottom along with a final coat over the entire vase.
I’m so happy with how this vase turned out! The spalting adds so much to it! What do you all think?!? I hope you all join me back in the barn next Monday…since it will be week 52 there will be some fun things that I’ll do! So stay tuned!! Have an amazing week!

